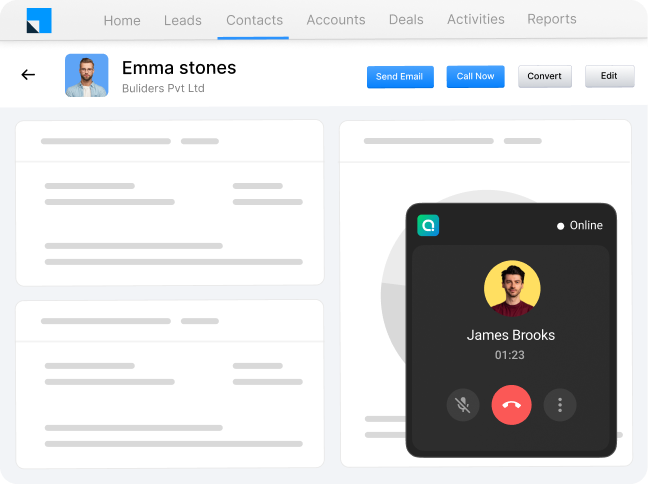
TeleCMI with LeadSquared for Seamless Lead Management

Improve your lead management process by seamlessly integrating TeleCMI with LeadSquared. This integration combines the telephony capabilities of TeleCMI with LeadSquared's robust lead management features, allowing you to easily track, engage, and convert leads with maximum efficiency.

With the TeleCMI integration, you can:

Get a complete view of your customers by capturing all their details and activities in one place.

Get pop-up notifications with customer details for incoming calls.

Embed calling capabilities directly within the LeadSquared application, allowing your agents to make outbound calls effortlessly.

Route calls to the assigned representative of the customer through relationship-based mapping, ensuring personalized and efficient communication.

Access call recordings for all calls, providing valuable insights and enhancing quality assurance processes.

Step 1:

Login to LeadSquared

Login to leadSquared admin account.

Add Supervisor
Add Supervisor

Step 2:

Navigate to "Apps"

In the navigation bar.

Open the "Apps Marketplace".

Step 3:

Install UTC

Search for "Universal Telephony Connector".

Install the connector.

Add Supervisor
Add Supervisor

Step 4:

After installing the UTC

click on "Configure".

Step 5:

Add a connector

Click on the plus icon at the top-right corner.

Select the connector type.

Provide a name for the connector.

Click "Add" to finalize the process.

Add Supervisor
Add Supervisor

Step 6:

Add TeleCMI virtual number

Go to the virtual number section.

Add the TeleCMI virtual number.

Provide a name for the number.

Step 7:

Configure Agent Popup API

Click on "Agent Popup API" and make sure it is enabled.

Click "Save" to save the changes.

Add Supervisor
Add Supervisor

In the agent panel settings, enable "Agent Panel Show on Tap" and hide the scale button.

Enter the URL in the provided field.

Enter the panel permission.

Enter the panel title.

Enter the panel height and width.

Step 8:

Configure Click to Call

Go to the "Click to Call" section.

Select the server-side API option.

Enter the URL in the provided field.

Choose the HTTP POST method.

Set the response keyword to "success".

Ensure that the request and response type are in JSON format.

Enable the checkbox.

Click "Save" to save the settings.

Add Supervisor
Add Supervisor

Step 9:

Configure User

Click on Manage user.

Step 10:

Edit User

To make personalized edits, click on "Settings icon".

Add Supervisor
Add Supervisor

Step 11:

Complete User Profile Details

Enter the phone number that was used to create the user in the TeleCMI dashboard within the agent phone number section.

The phone number fields that follow are optional.

Step 12:

Completing Required Fields

In the Telephony agent ID section, enter your user ID.

Enable the "Show Call Popup" option.

Enable the "Softphone Enabled" option.

Add Supervisor
Add Supervisor

Step 13:

Access TeleCMI admin account

Log in to your TeleCMI admin account.

Step 14:

Webhooks URL

Go to the settings of your TeleCMI account.

Navigate to the "Webhooks" section.

Enter the Webhooks URL provided in that section.

Add Supervisor

By following these steps, you can successfully integrate TeleCMI with LeadSquared

Get Your Virtual Business Phone System

Never Miss A Business Call