Product User Manual » Get Started: TeleCMI Cloud Phone System (PSTN) User Guide
Get Started: TeleCMI Cloud Phone System (PSTN) User Guide
- Welcome to TeleCMI, this step-by-step product documentation guide navigates admins on how to set up and use TeleCMI’s cloud business phone system . TeleCMI provides both PSTN and VoIP-based (webRTC) cloud phone system platforms for businesses.
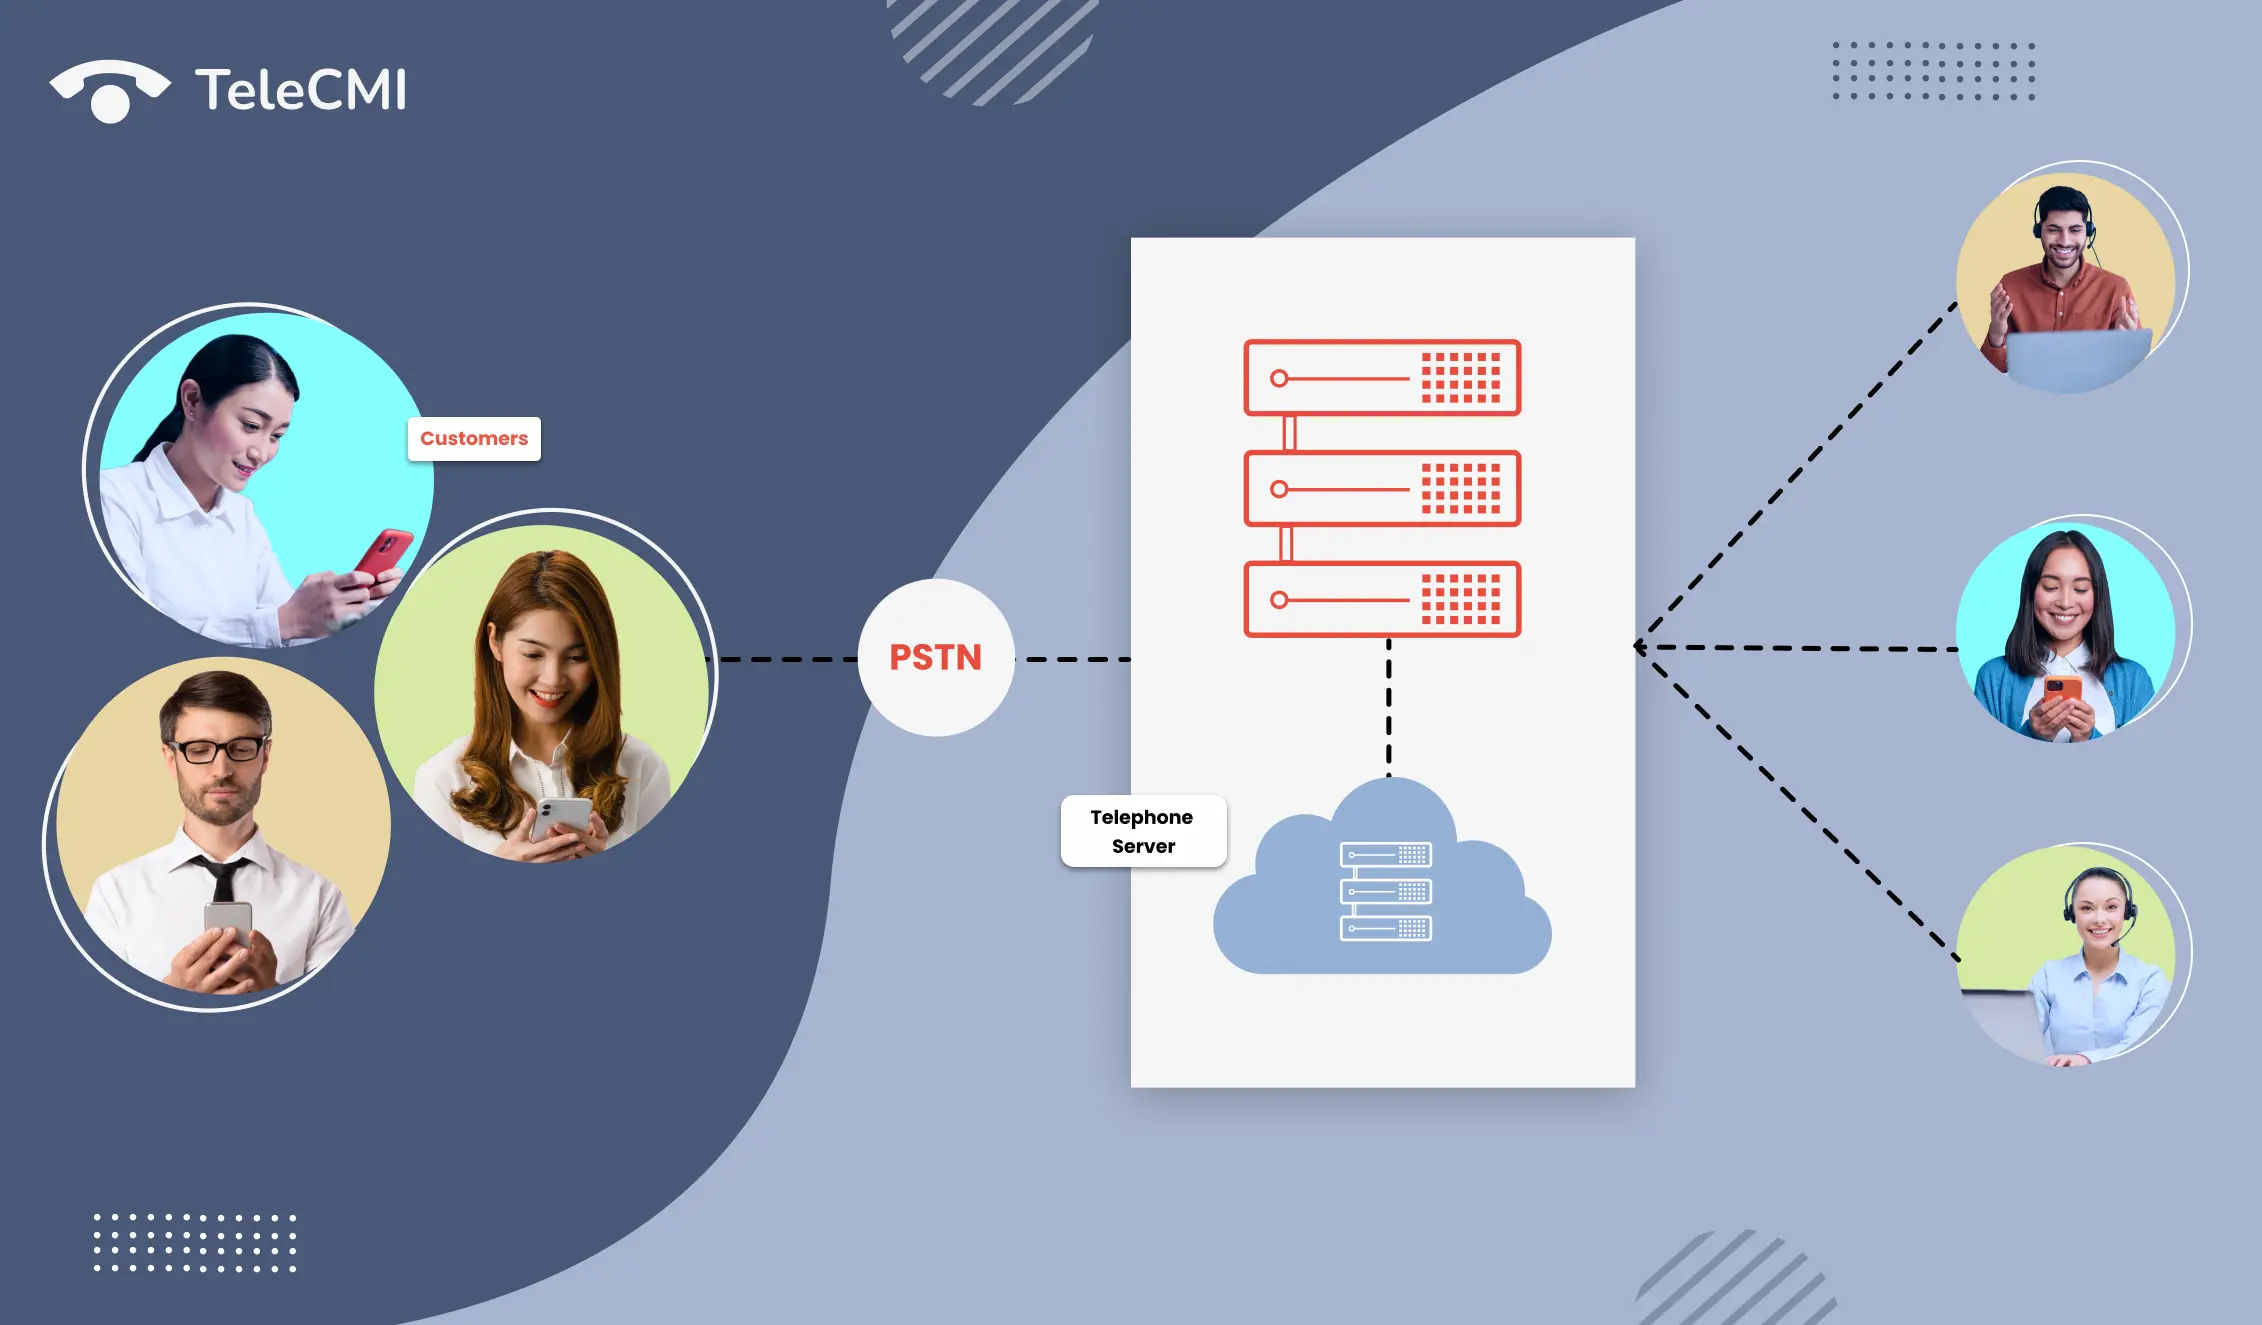
- Though both platforms help you communicate over the cloud, the core difference is PSTN enabled cloud phone system uses public switched telephone networks to terminate calls, and calls are forwarded to the agent’s number and mobile device, and the VoIP phone system uses an internet connection and softphone to make and receive calls virtually.
- In this guide, we cover an admin guide for getting started with our PSTN-based cloud phone system. If you haven't signed up for the TeleCMI account yet, you can signup here.
Overview
1. Introduction to TeleCMI cloud business phone system
2. Admin guide to getting started with TeleCMI
A. Signing up for TeleCMI’s cloud phone system account
B. Choosing a subscription plan
C. Select a virtual number for your business
D. Download TeleCMI apps
3. Managing users & teams
A. Adding users and agents
B. Adding teams
4. Setting up an incoming call flow
A. Using visual call flow designer
B. Configuration of IVR
5. Tracking calls & users’ activities
A. Admin live dashboard
B. Track call history
B. User/agent dashboard
6. Understanding TeleCMI’s call management features
A. Automated call routing
B. Multilevel IVR
C. Call recording
D. Call transfer
E. Call conferencing
F. Call barging
G. Click2Call
H. Voicemail
7. Integrating your business tools into TeleCMI
8. Guide for developers
A. APIs, SDKs, and webhooks implementation
9. Billing & subscription management
1. Introduction to TeleCMI cloud business phone system
- TeleCMI's cloud phone system with PSTN allows business and contact center teams to manage communications virtually with customers. All infrastructure and hardware are maintained and hosted by us, hence businesses don't need on-premise PBX or physical hardware for business communications.
- Users can make calls from anywhere using our web and mobile apps. Our platform is helpful for organizations that want to deploy cloud-based PBX and call center for customer communications, remote working, and connecting all offices worldwide.
2. Admin guide to getting started with TeleCMI
A. Signing up for TeleCMI’s cloud phone system account
- Sign up for a TeleCMI account using your business name, email, and password. After completing the signup process, verify your mobile number with OTP and then admins would be taken to the TeleCMI admin dashboard.
B. Choosing a subscription plan
- After signing up, you can start using TeleCMI cloud phone system instantly using free trial or buy a yearly subscription plan that fit your business needs. You can check plans and pricing here.
C. Select a virtual number for your business
- To buy a virtual business number for your organization, fill in the requested user details and then you can choose your favourite number from our list of available numbers and start using the registered business number for managing business calls.
D. Download TeleCMI apps
- You can log in to the TeleCMI dashboard either using our web, desktop, or mobile apps and manage agents and calls by working from anywhere. You can install TeleCMI apps here.
3. Managing users & teams
A. Adding users and agents
- Admins can add new users and teammates by clicking ‘Team → user’ in the dashboard. Fill in the user name, 3-digit extension number, user password, and call forwarding number to finish your user onboarding process.
- You can also turn on/off missed call SMS notification to notify your agents automatically when they missed a call.
- Also, admins can set up working hours, team name eg, sales, support, and permission to make outbound calls for the team members.
B. Adding teams
- Apart from setting up individual users, you can also set up your business teams like sales, support, etc by clicking team → team in the dashboard and assigning available users to the specific team.
4. Setting up an incoming call flow
A. Using visual call flow designer
- Setup and customize incoming call flow method to route incoming calls based on predefined criteria.
- To design incoming call flow, click ‘call flow’ in the dashboard and use our simple drag-and-drop visual call flow builder comes with call flow attributes like greeting SMS, IVR, team, voicemail, office hours, hung up, play audio, PIOPIY script, calendar, and notify SMS to setup incoming call routing.
B. Configuration of IVR
- Click call flow → IVR in the dashboard to design a custom IVR for your business to auto-attend and route incoming calls. When someone calls your business number, IVR music will be played and guide callers through automated voice scripts like press 1 for sales, press 2 for support, etc.
5. Tracking calls & users’ activities
A. Admin live dashboard
- Admin or supervisors can track real-time agent activities on their dashboard by logging into teleCMI cloud phone system on our web, desktop, or mobile apps. Track data like a number of waiting customers, speaking customers, active users, answered calls, missed calls, outgoing calls, average talk time per call, top-performing user, and so on.
B. Track call history
- Click ‘call history’ in the dashboard to track missed, answered, incoming, and outgoing calls. Tip: you can also filter call history based on a specific time range.
C. User/agent dashboard
- TeleCMI also has a separate dashboard for staffs working under managers to make and receive calls. Your teammates can log in to their portal using our web, mobile, or desktop apps.
6. Understanding TeleCMI’s call management features
A. Automated call routing
- Select call routing methods to receive calls one after one, equal distribution, and parallel ringing.
B. Multi Level IVR
- Greet all the customer calls through an IVR and direct the calls to the right person in the selected team.
C. Call recording
- Record customer calls to improve user and customer conversations for a better customer experience.
D. Call transfer
- Transfer customer calls to your team members to give customers a better solution for their queries instantly.
E. Call conferencing
- Users can merge another user from your team in the ongoing call while having customer in the same call.
F. Call barging
- Supervisors can coach agents in live customer calls to improve quality and productivity.
G. Click2Call
- Start initiating business calls by dialing the customer phone number available on the screen.
H. Voicemail
- Record customer queries through an audio message during non-working hours.
7. Integrating your business tools into TeleCMI
- Integrate TeleCMI to your existing business tools like Zoho, Salesforce, Zendesk, HubSpot, Shopify, Freshdesk, Help Scout, and Intercom. Learn more about CRM integration.
8. Guide for developers
A. APIs, SDKs, and webhooks implementation
- To know more about working with TeleCMI APIs, webhooks, and SDKs, read our API documentation guide for developers.
9. Billing & subscription management
- Click 'account' in the dashboard to view voice and SMS balance, recharge, view paid and unpaid bills, and renew or upgrade the current plan.
- This is an overview of setting up the TeleCMI cloud phone system (PSTN) for your organization, you can also request a free product demo and training with our sales rep to know how TeleCMI works in action.
- You can also check our admin guide for getting started with TeleCMI’s VoIP phone system in our next article.